Microsoft Word's mail merge feature only sends emails from Outlook's default email. This article instructs how to add a shared mailbox to Outlook and set it as the default email so the mail merge will send emails from the shared mailbox instead.
Add the Shared Mailbox to Outlook
Via Outlook
- Open the Outlook Application
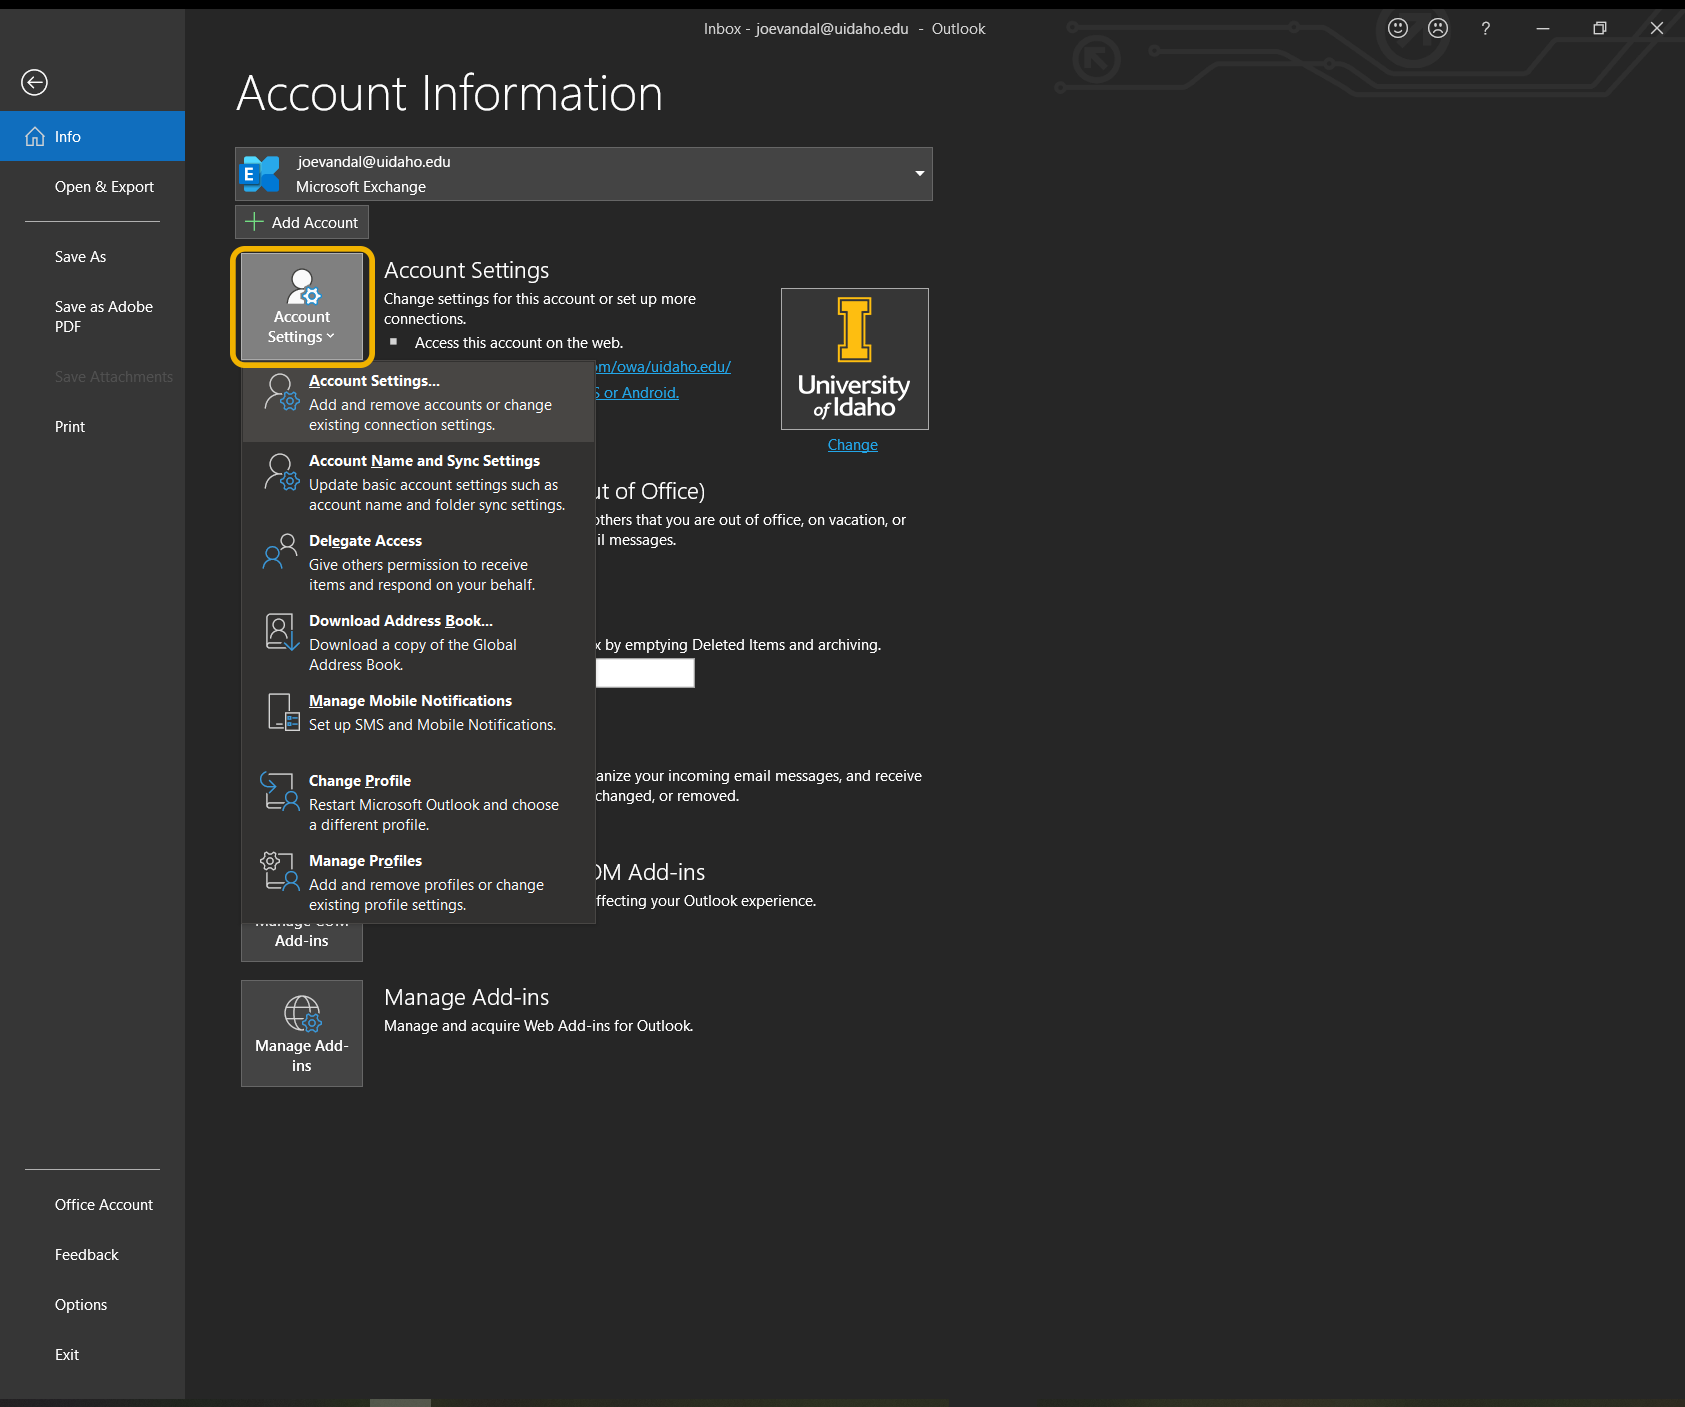
- Click File on the top toolbar
- Click the Account Settings button, and select Account Settings from the dropdown
Via Control Panel
- Open Control Panel (search Control Panel from Start)
- If in Category view, select User Accounts and then Mail(Microsoft Outlook), if in icon view select Mail(Microsoft Outlook)
- Click the Email Accounts button in the window that appears
For Both
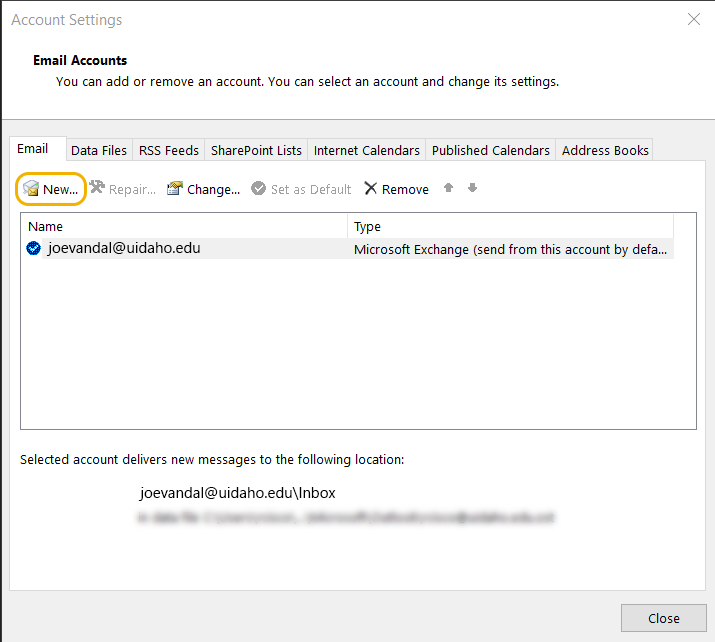
- Click the New button above the list of email addresses
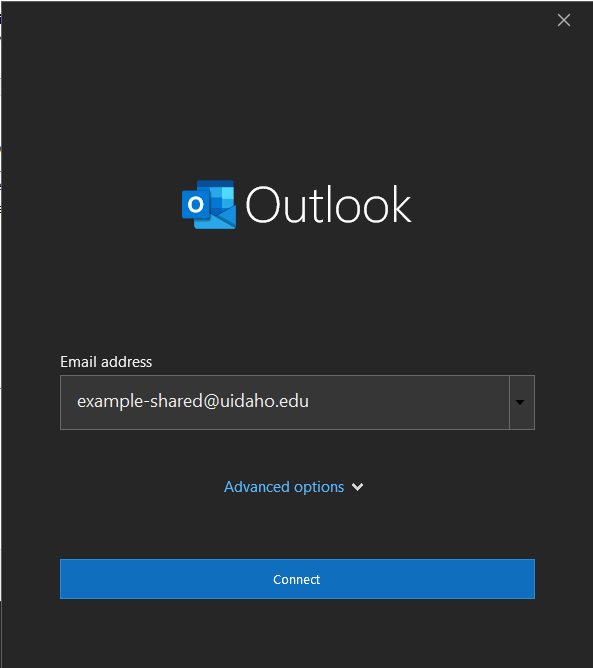
- Enter the shared email address into the box and click connect.
- If you have the password for the shared email address, enter it and click Sign In. If not, click sign-in with another account
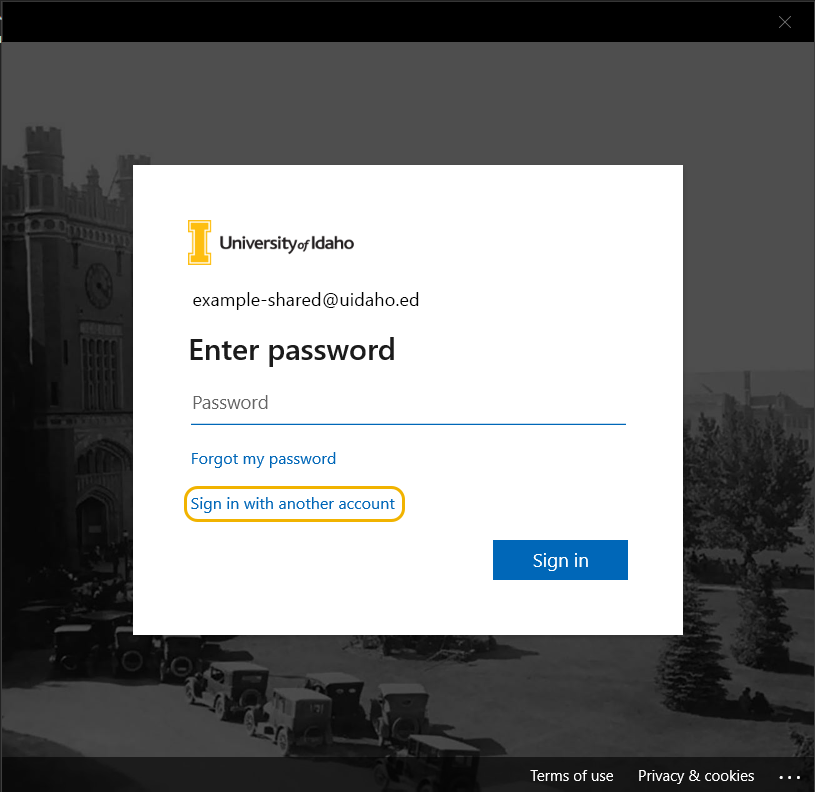
- Enter the address for your primary email account that has access to the shared account and click Next
- Enter the password for your primary email account and click Sign In, then complete the Duo MFA prompt.
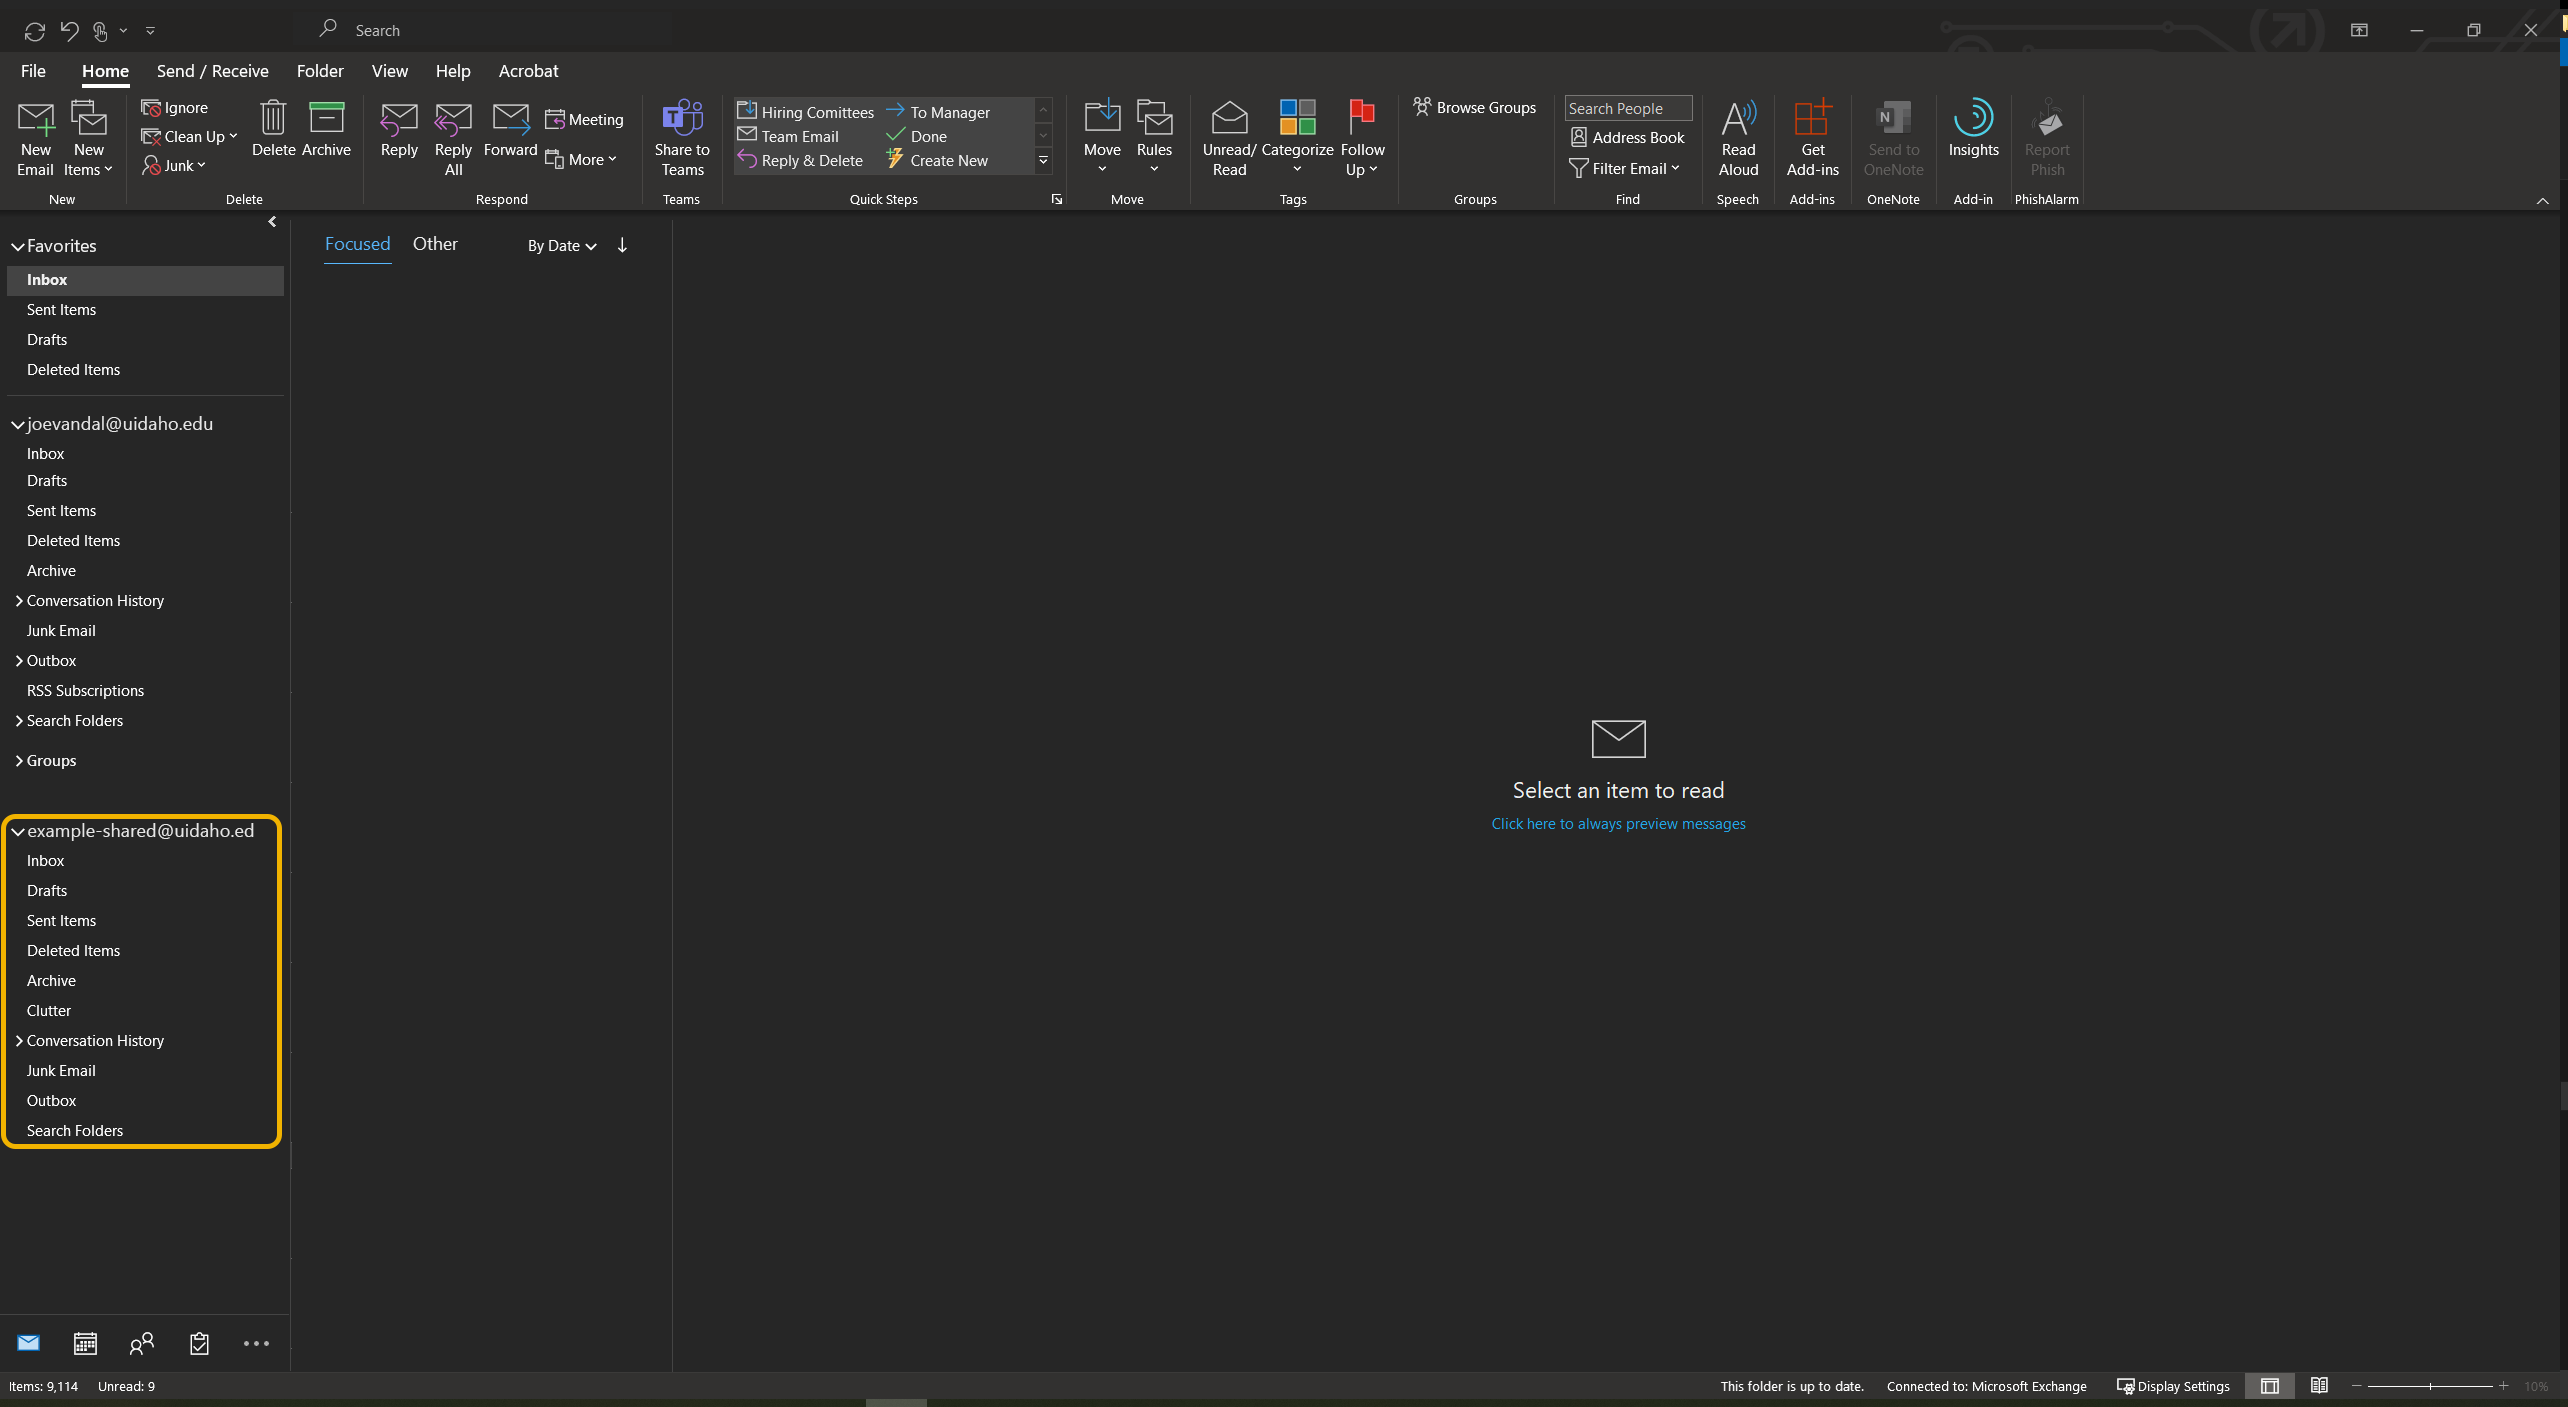
- Once signed in, click done, exit out of all open Outlook windows, and reopen Outlook. You’ll now see the shared inbox in the left-hand navigation pane. Note that it may take a while to synchronize all emails for the shared inbox.
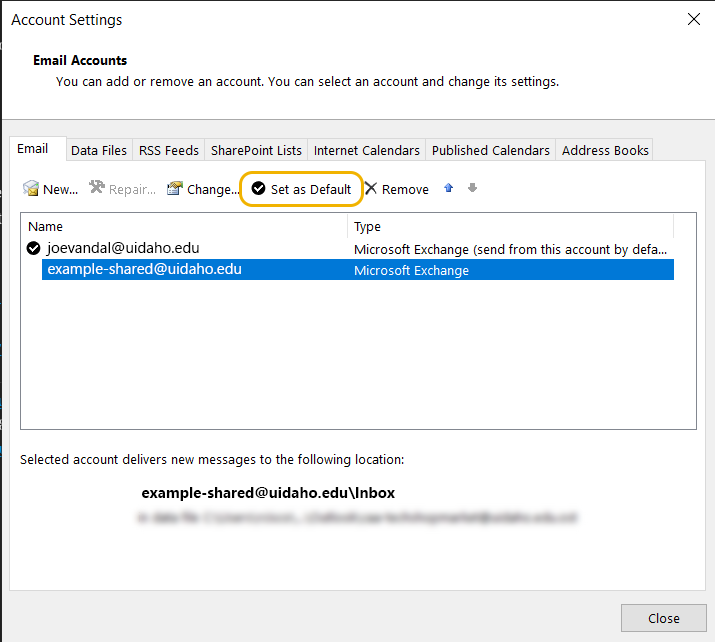
Set the Shared Email as the Default Email to Send As
- Click file on the top toolbar
- Click Options in the bottom left corner of Outlook
- Select Mail from the options on the left side of the Outlook Options window
- Scroll to the Send Messages section and check the box for Always use the default account when composing new messages, then click Ok

- Click file on the top toolbar again
- Click the Account Settings button and select Account Settings from the dropdown
- Select the shared email address from the list, and click Set as Default